Fitting an Extra column of shapes on a page
There may be times when you are mapping in an A4 or Letter sized stencil and you have 5 columns of activities but the page only allows for 4. You have a decision to make, do you break the map in to 2, add a drill down or break the rules completely and snake the process down the page? However there is another option which allows the map to fit within the confines of the page and still look neat and tidy.
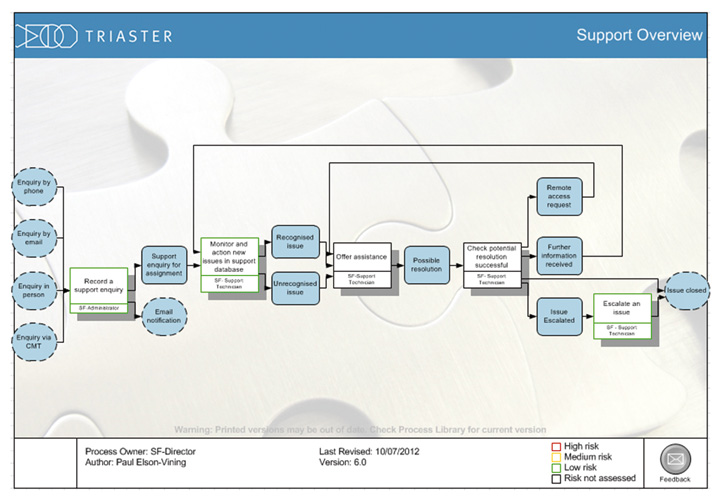
Looking at the following map, it is possible to manually resize each box and move the shapes along to fit, but that takes time.
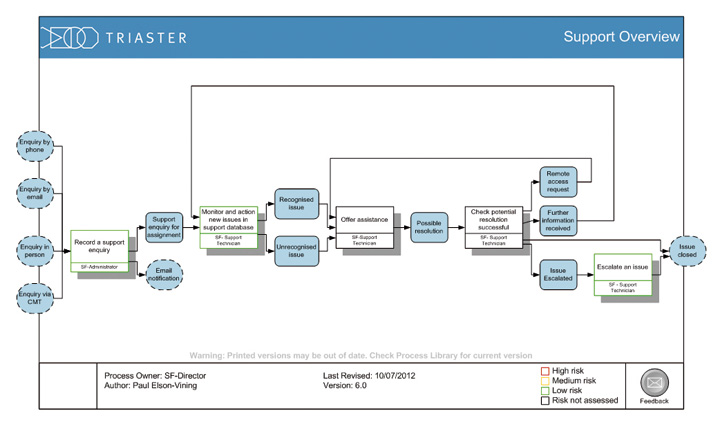
If you resize the Activity boxes and shorten the Connectors you can achieve the same effect.
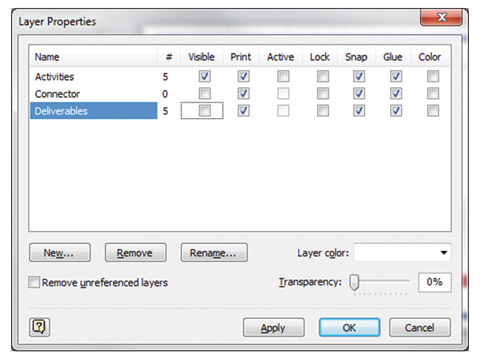
Here's how to do it. Firstly we only want to view the Activities. To do this select Process Navigator Tools > Layers > Layer Properties and deselect the Connector and Deliverables in the Visible column to leave only the Activities visible:
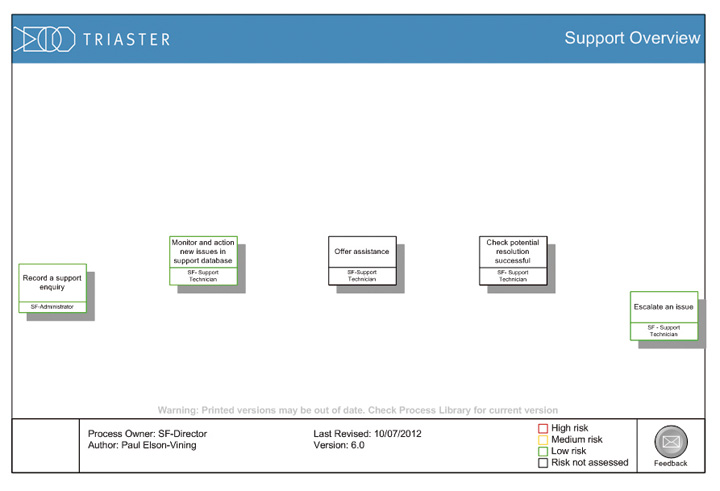
Now select all the Activities by drawing a box around them and turn on Process Navigator Tools > Page Size > Size & Position. Change the width from 25mm to 23mm. Over-typing this field will resize all the boxes simultaneously.
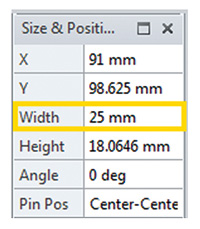
Then go back to Layer Properties and make the remainder of the shapes visible again.
If you were to perform an auto-layout now, the map would still spill outside the edge of the page. We need to do one final thing and that is to reduce the length of the Connectors. To do this, draw a box around your Deliverables and Activities to select them. Now select Process Navigator Tools > Spacing and connections > More Layout Options and change the spacing options from 7.5mm (which is the standard length for Process Navigator) to 5.5mm. You will need to overtype this value as it is not available from the drop down list. To finalise, click OK and do an auto-layout.
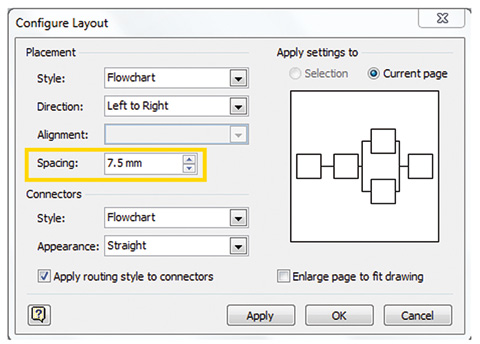
If the map still does not quite fit you can repeat the process as above and take 1mm from each Deliverable's width.
